eSeller Cloud supports integration with your ERP system. This means that you are able to export data from your ERP system and import it to eSeller Cloud – and export data from eSeller Cloud and import it to your ERP system. This process can of course be automatized thus having a near real-time synchronized overview of your products, customers, orders, payments, etc.
Integration is set up using a Data Origin. Data Origins are ports for external integration and they classify and group external datasets. A Data Origin has a distinct FTP user account for integration. Data Origin facilitates the ability to integrate with different ERP systems whilst still keeping track of from where the data originates.
In order to set up integration using Data Origin, you need to perform the following steps:
-
Get a login to eSeller Cloud
-
Create a Data Origin
-
Gain access to FTP using Data Origin
-
Connect data Origin with Shop code and Shop group code from the ERP system
-
Import data
-
Verify that data has been imported.
Get a login to eSeller Cloud
The login to eSeller Cloud is provided by a ScanCommerce associate. The login provides access to all eSeller Cloud accounts that you are associated with.
Go to http://www.esellercloud.com/admin and enter your login credentials.
Creating a Data Origin
Now you have to create the Data Origin you want to use for the integration. Go to Base Setup > Company info > Account > Integration tab.
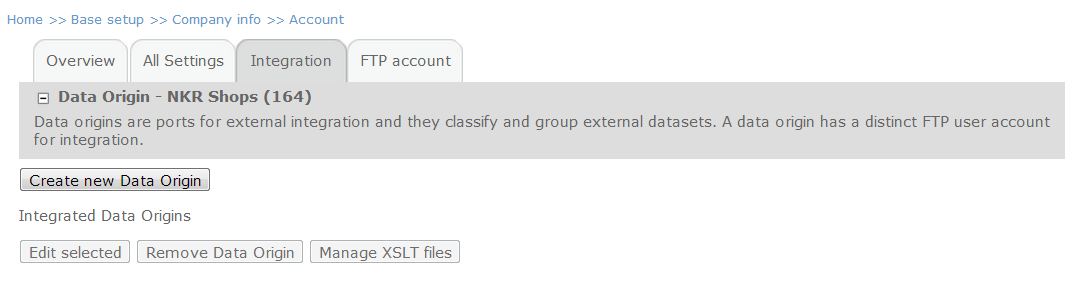
Click the “Create new Data Origin” button and provide the Data Origin with an External ID and a Name.
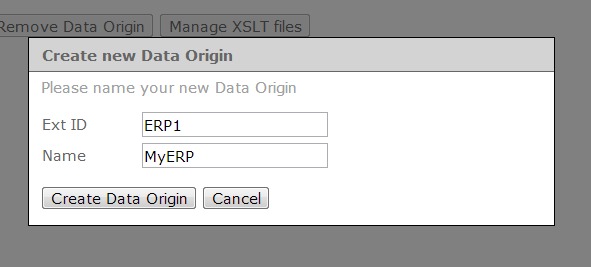
Click “Create Data Origin”.
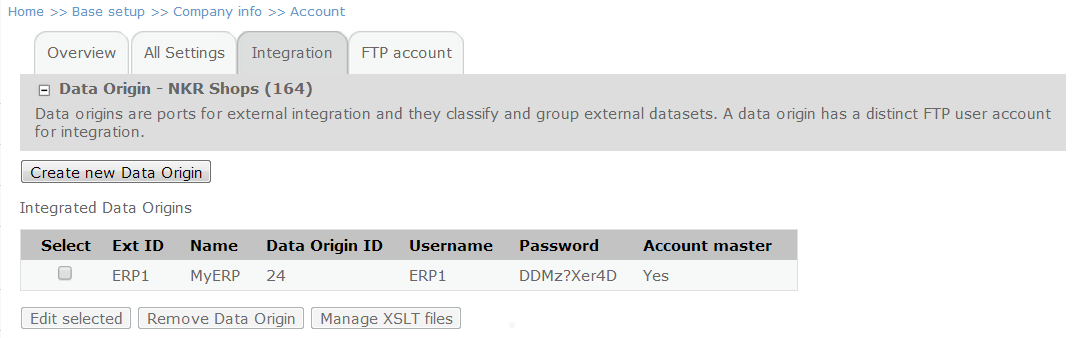
Now you can see that a Data Origin has been created and that you have been provided with a username and password that you can now use to access the FTP. You are able to edit the password by selecting the Data Origin and clicking “Edit selected”.
The “Account master” property specifies whether or not data from this Data Origin should be applied as the account settings such as for instance country and currency settings. Account-related data will only be imported from the Account master Data Origin.
Setting up the ERP system
Now that you have created a Data Origin, you are able to enter the FTP login credentials in your ERP system. Enter ftp.esellercloud.com as the host (port 21) and apply the username and password provided by your Data Origin.
Now, run the integration from the ERP system, exporting data from it to eSeller Cloud. This step is necessary as eSeller Cloud needs to be provided with a Shop code from your ERP system. The Shop code should be applied to the exported document from the ERP system in the <shops> and <shopGroups> segments. These codes are used to make the relation between the Data Origin and the shop/shop group in the account. The shop group codes may be identical for shop group and shop - but this is not required.
<shopGroups>
	<shopGroup id="5555">
		<name>testgroup</name>
		...
	</shopGroup>
</shopGroups>
<shops>
	<shop id="5555">
		<shopGroupId>5555</shopGroupId>
		<name>testshop</name>
		...
	</shop>
</shops>
Connecting Data Origin and the ERP system
In order for Data Origin to know from where data originates, you need to connect the Data Origin with the Shop code from your ERP system. This means that you have to connect both your Shop and your Shop Group with the Shop Code provided by the ERP system.
Shop Code
Connecting the Shop Code to your Shop is done by going to Base setup > Webshops > Shop and selecting the shop you want to connect with the ERP system by clicking it.
Click the Integration tab and click “Add new Shop Code”.
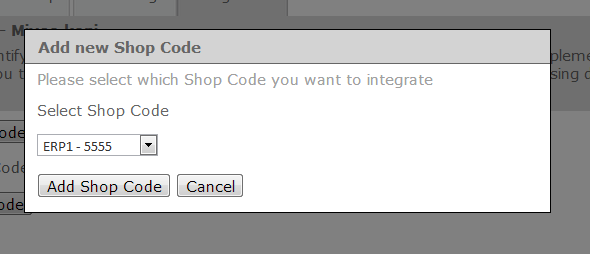
In the drop-down you will be able to select the Data Origin that you have just created. In this example, I want to connect the Data Origin "ERP1" that has the Shop Code “5555” with this Shop. This means that all Shop data (such as for instance menu structures) imported through the Data Origin "ERP1" will be associated with this Shop.
Shop Group Code
Connecting the Shop Group with the ERP Shop Code is done by going to Base setup > Webshops > Shop Groups and selecting the shop group you want to connect with the ERP system by clicking it.
Click the Integration tab and click “Add new Shop Group Code”.
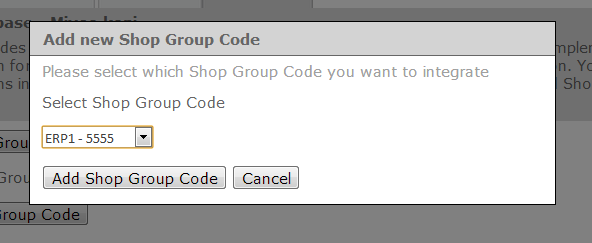
In the drop-down you will be able to select the Data Origin that you have just created. Just as before, I want to connect the Data Origin "ERP1" that has the Shop Code “5555” with this Shop Group. This means that all Shop Group data (such as for instance products, customers and payments) imported through the Data Origin "ERP1" will be associated with this Shop Group.
Importing data
Once you have connected the Shop and Shop Group with the Shop code/Data Origin, you are able to import data to eSeller Cloud. Run the integration from the ERP system, exporting data from it to eSeller Cloud.
If the import was successful, you will now be able to see the imported data in eSeller Cloud.
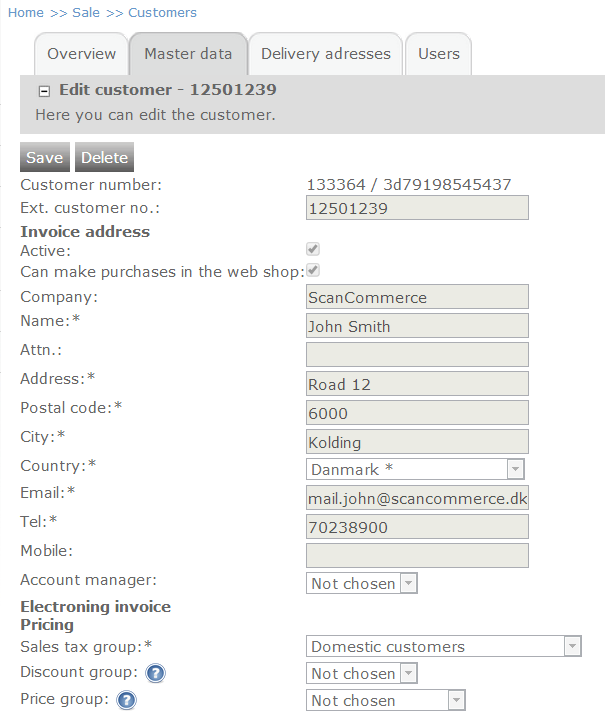
In this example, I have imported a customer named John Smith. Under “Resources” below, you are able to see the XML file that was used for this import.
Exporting data
Once the Shop and Shop group is connected with the shop code from the ERP system, you are also able to export data from eSeller Cloud to your ERP system. Data that can be exported are customers, orders, gift cards and payment transactions.
When exporting data from eSeller Cloud, a criteria file in the Export folder tells the shop what data to retrieve. Per default the shop uses the criteria "New", which means that only data (orders, customers, payment transaction, gift cards) that have not yet been exported will be exported. Thereby eSeller Cloud keeps tab on what data has already been fetched by the ERP system. However, you are able to overwrite this default criteria file (per session) and filter the data which is delivered by eSeller Cloud. We recommend using criteria files to specify what data to retrieve as connection errors or package loss may result in incomplete data being exchanged between eSeller Cloud and the ERP system. Learn more about criteria files here.
Your ERP system might require a certain file structure in order to accept data exported from eSeller Cloud, and data coming from eSeller Cloud may therefore need transformation. You can read more about data transformation in the tutorial Using XSLT with integration.
Manual integration
Once you have created the Data Origin, you can access the FTP using the login credentials provided by the Data Origin. Access through the host ftp.esellercloud.com (port 21). Via FTP you have access to the folders Import and Export. Importing data to eSeller Cloud can be done by uploading a valid XML document to the Import folder (for instance one that is exported from your ERP system). Exporting data such as Customers, Orders and Payment transactions from eSeller Cloud can done manually by downloading Customers.xml, Orders.xml or PaymentTransactions.xml from the Export folder.
Integration queue
Note that the system handles integration jobs in a queue across all eSeller Cloud accounts. Therefore it cannot be guaranteed that integration occurs instantaneously when a file is uploaded to the FTP. This means that there might sometimes occur a delay between when the file is uploaded to the FTP and when the shop administration recognizes this and displays the "In progress" integration status. Hence, the duration of import jobs may be arbitrary.
Error handling
If the imported XML document does not fulfil the syntax requirements, the import will fail and no data will be imported. In case the import fails, you will be notified in the Shop administration.
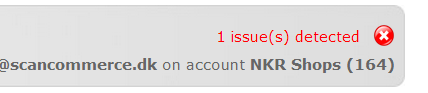
Click the red import status text and click View full log in the panel that appears. Now you are able to see a log displaying the status of the import and access a description of the error.
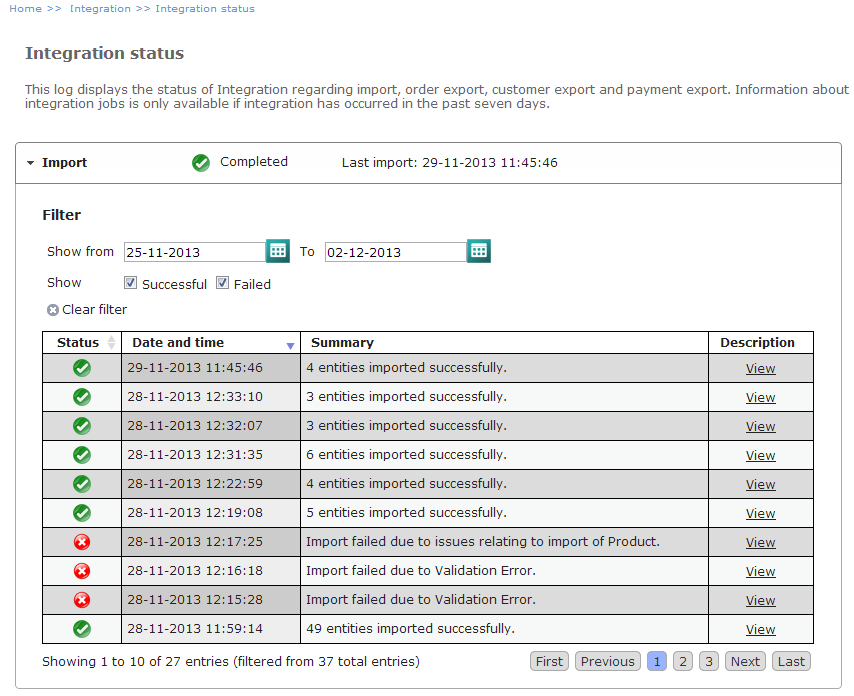
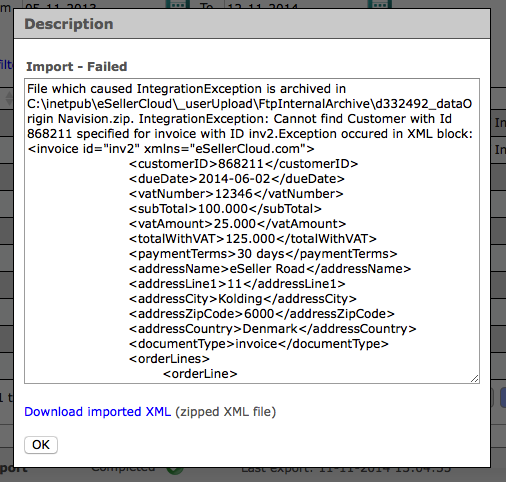
Click View – a window appears with a description of the error that has occurred.
You can read more about the Integration log in the Monitoring ERP integration with the integration status log tutorial.