The new and enhanced search functionality for eSeller Cloud enables your customers to quickly find what they are seeking, increasing the possibility of search results even on search queries containing typing errors and/or misspellings. Smart search eliminates the need of creating hidden keywords or trying to predict how product names might be misspelled. Smart search even includes the possibility of letting product menus and info menus appear in search results.
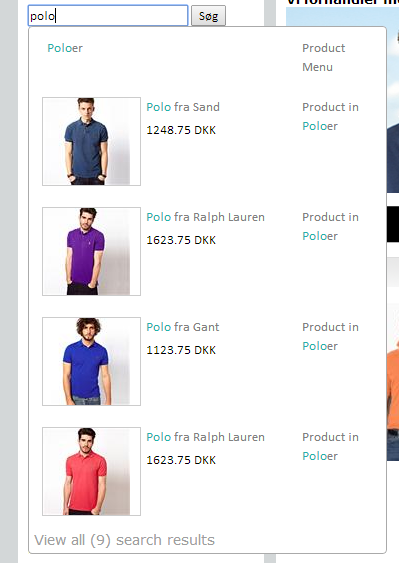
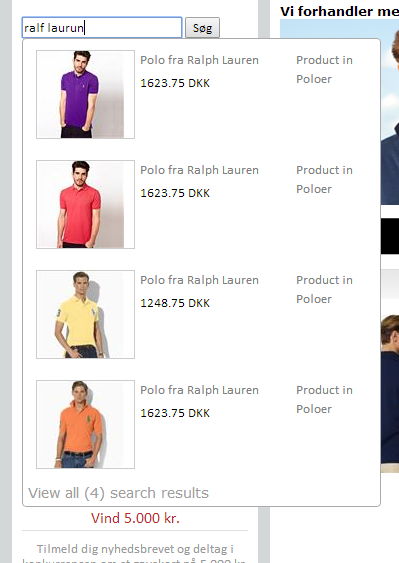
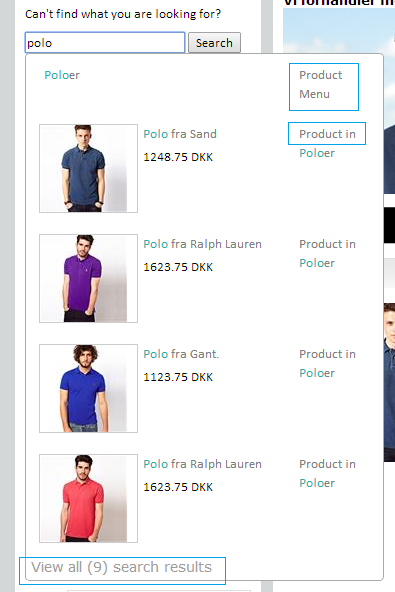
The Smart search feature can even make instant suggestions as the customer types in the search field. Suggestions can include products, product menus and/or CMS menus such as for instance info menus. You can of course style the suggestion box to suit the look and feel of your webshop.
Contents
What can I search for?
Which properties can I search for when searching for products?
- Product name
- Product ID (internal ID)
- External ID
- Alternate external ID
- Manufacturer SKU
- EAN number
- Product variant name
- Product menu name (the name of the associated product menu)
- Manufacturer name
- Short description
- Long description
- SEO HTML title
- SEO meta keywords
- SEO meta description
- Search tags
- Custom fields
Which properties can I search for when searching for product menus?
- Product menu name
- Product menu ID
- Description
- SEO HTML title
- SEO meta keywords
- SEO meta description
- Search tags
Which properties can I search for when searching for CMS menus?
- CMS menu name
- CMS menu ID
- CMS menu content
- CMS menu link text
- Menu sub title
- HTML title
- Meta keywords
- Meta description
- Search tags
How does SMART Search work?
SMART Search performs multiple searches from the search query that the customer makes. SMART search looks for exact matches of the search query, fuzzy search for each word in the search query as well as wildcard search before and after each word in the search query.
If a customer searches for "Glass christmas ornaments", any item (product, product menu and/or CMS menu) that somehow matches this string of characters exactly will be returned. Moreover, a fuzzy search is made for each of the words in the query so that misspellings and typos do not interfere with the results. Lastly, wildcard search is made for each word in the query. This means that items such as "christmas ornaments" and "glass ornaments" can also appear in search results.
SMART Search uses different analyzers (used for indexing and searching) for different fields. ID fields such as Ext. ID, EAN number or and manufacturer SKU uses an analyzer that does not break the content of the fields into smaller tokens, thus making it possible to search for IDs containing special characters such as whitespace, backslash or hyphen.
Non-ID fields use a natual language analyzer, which breaks the fields and search query into smaller tokens used for powerful indexing and searching.
When a search query is made, SMART Search scores each document (product/product menu/CMS menu) relative to different parameters. Properties such as product name and product long description are prioritized differently - this is done by boosting certain properties. SMART search highly prioritizes product name, product ext. ID, manufacturer SKU, EAN number and search tags. This means that if Product A matches the search query in the product name and Product B matches the query in the description, Product A will have a higher score than Product B, and hence, will be displayed closer to the top in the search results.
However, other circumstances also affect the score of documents (products/product menus/CMS menus):
- The more frequent a term occurs in a document, the greater its score
- The greater the occurrence of a term in different documents, the lower its score
- The more of the terms in the search query is found in the document, the higher the score
- Matches in fields (e.g. product name) containing a lower number of terms is ranked higher than matches in fields containing a greater number of terms
So, in summary:
- Documents containing all the terms in the search query are good
- Matches on rare words are more important than matches on common words
- Matches in long documents are less important than matches in short documents
- Documents which mention the term(s) of the search query many times have a higher score
Setting up SMART Search
The new enhanced search feature is added as a shop element containing the “SearchBox” content control. The following section will show you how to add the new Smart search feature to an eSeller Cloud webshop.
In the shop administration, navigate to Design > Overall design > Content Designer > Product detail designer
Select “Shopelement design” in the drop-down list to the right.
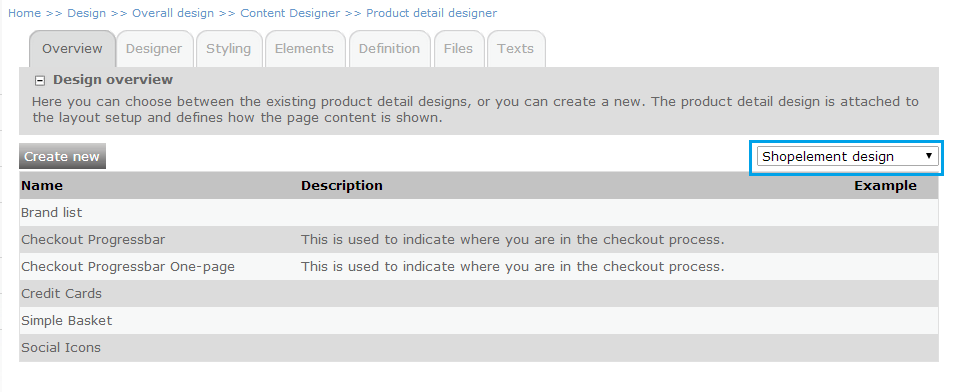
Click the “Create new” button.
Enter a name for the shop element – for instance “Smart Search” and if you wish, a description.
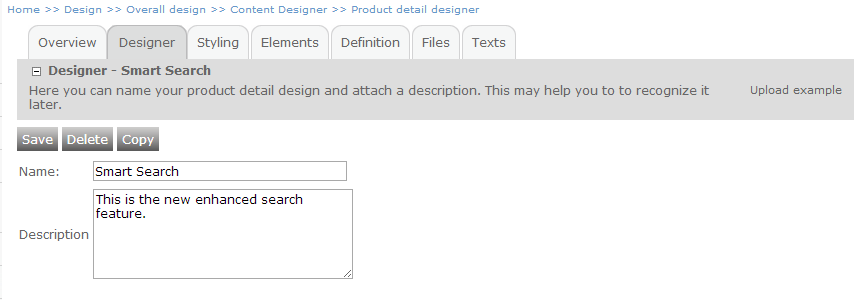
Click “Save”.
Go to the “Definition” tab and add the following code:
<eSeller:Control ControlType="SearchBox" ControlID="SearchBox" />
This is the control generating the search field, button and search suggestion functionality.
Click “Save”.
Now the Smart search feature has been created as a shop element that can be placed anywhere in the shop. Using the Page Designer, we will add the new shop element to the left pane in the shop.
Go to Design > Overall design > Page Designer and select the page layout to which the shop element should be added. In this tutorial, the search field will be added to the design of the Layouts of “All pages” and “Front Page”. Please note that the layouts of your webshop might differ from the layouts available in this tutorial. You have to add the Search field to all page layouts where you want it to appear.
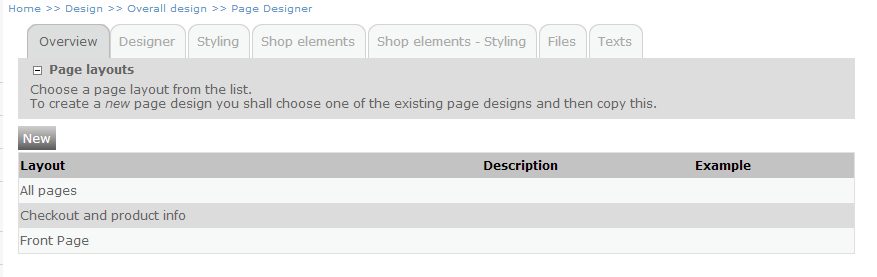
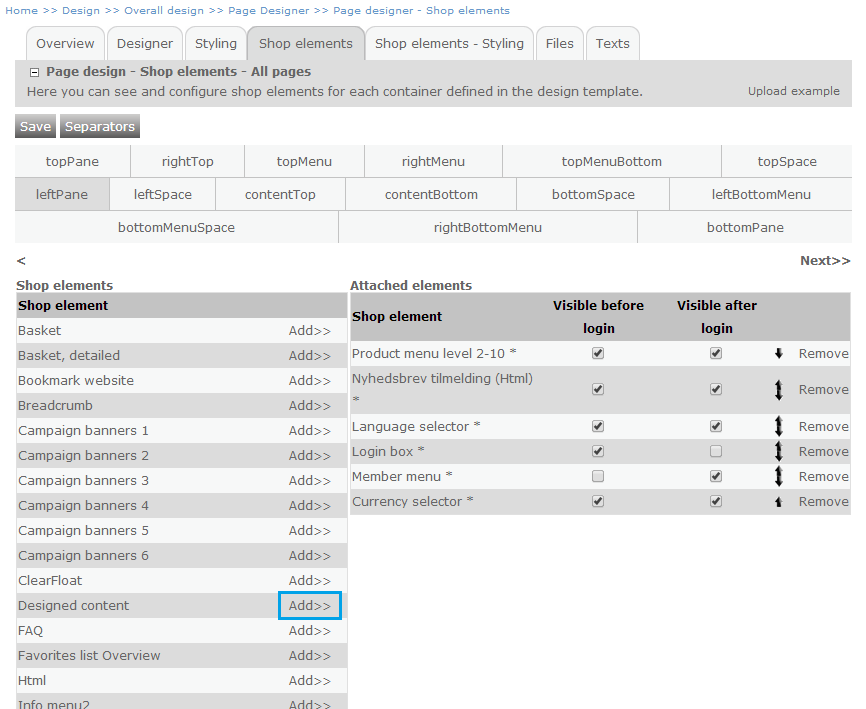
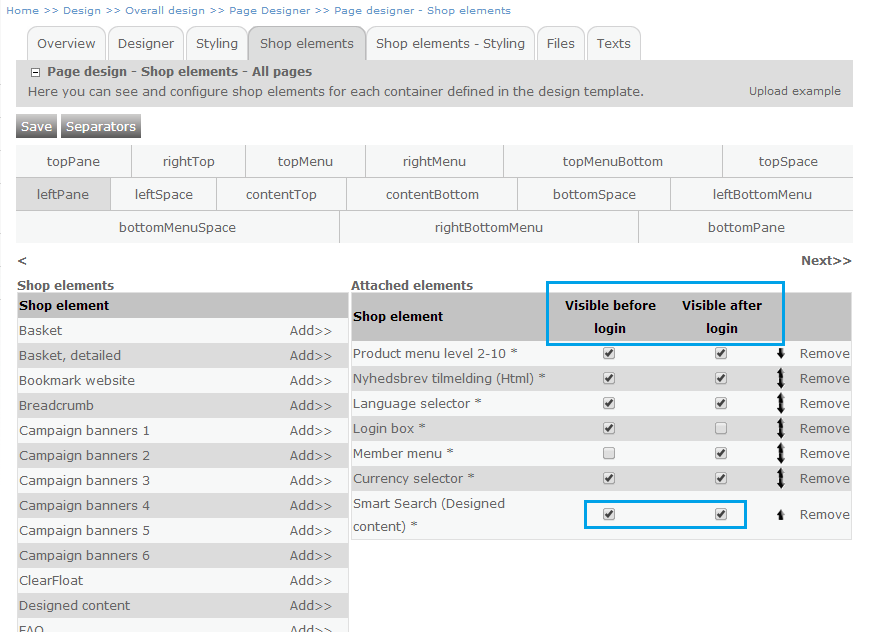
Click the desired page layout and navigate to the Shop elements tab and select the container where you wish the search field to appear. In this tutorial, the search field will be added to the left pane of the page (“leftPane”) – just above the product menu.
Click the container where you want the search field to appear and click “Add>>” for the element called “Designed content”. The system might notify you that the element is already in use in another container – click “OK”.
Now the Designed content element appears in the column to the right (Attached elements). Click it – a popup appears.
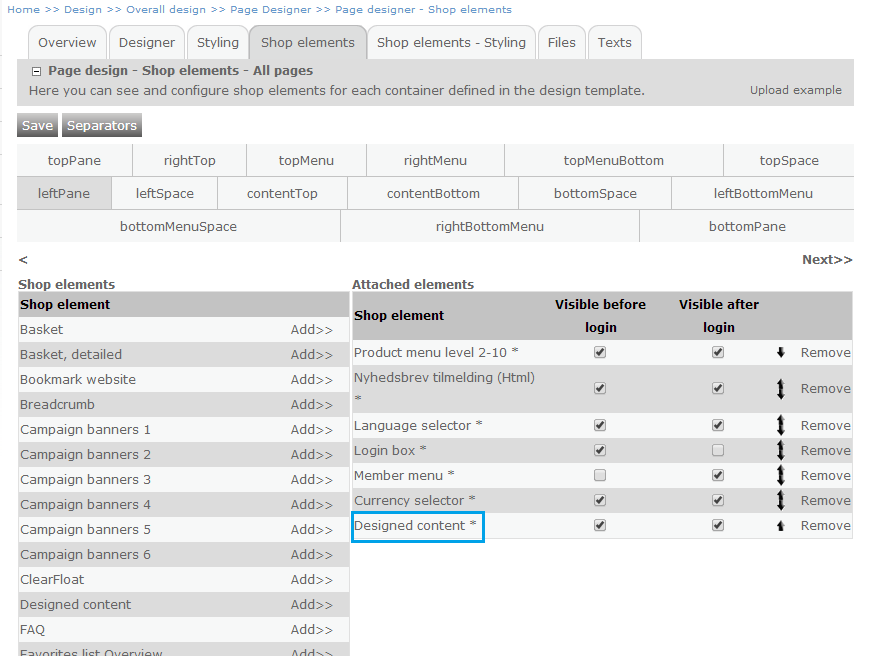
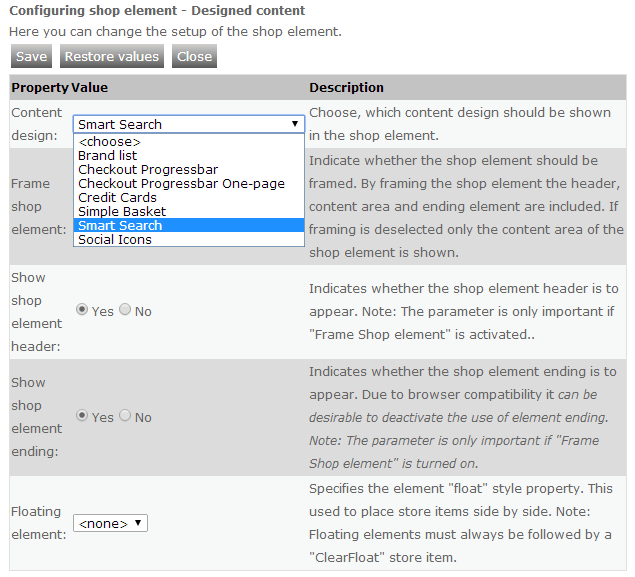
Select the shop element that you just created from the drop-down labelled Content design. You are able to set a few configurations on the shop element: Frame shop element, Show shop element header, Show shop element ending and Floating element. When the desired configurations have been made, click ”Save” and close the window.
You are also able to specify when the shop element should be visible in relation to log-in customers. If both checkboxes are checked, the shop element will be visible regardless of whether the customer is logged in or not. If only the “Visible before login” is checked, the shop element will only be visible for customers that are not logged in. If on “Visible after login” is checked, the shop element will only be visible for logged-in customers. If none of the options are checked, the shop element will not be visible at all. In this tutorial we want the search field to be visible at all times and therefore both options are checked.
Click “Save”
Repeat these steps for all page layouts where you wish the Smart search element to appear.
If you navigate to the shop, you will see that the Smart search feature has been added to the selected page layouts.
Configuring the search suggestion feature
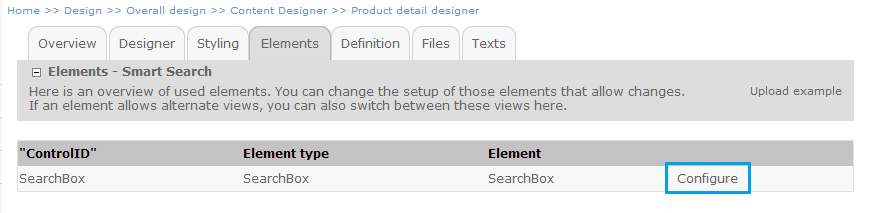
The search suggestion feature can be configured in several different aspects. This is done on the Elements tab on the Smart Search shop element.
Go to Design > Content Designer > Shopelement design (drop-down) > Click the shop element in the list (In this tutorial named "Smart Search"). Navigate to the “Elements” tab and click “Configure”.
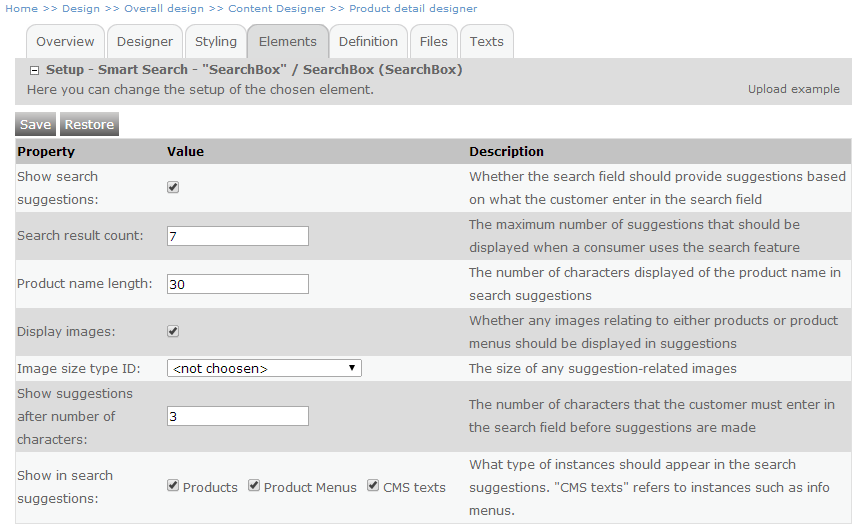
From here you are able to set the following configurations:
-
Show search suggestions: If enabled, the search field will provide instant suggestions based on what the customer enters in the search field. If disabled, no search suggestions will be made.
- Search result count: The maximum number of suggestions that should be displayed.
- Product name length: The number of character displayed of the product name in search suggestions – product names longer than this limit will be truncated.
- Display images: If enabled, product and menu images will be displayed in relation to suggestions.
- Image size type ID: Specifies the size of the product/menu image.
- Show suggestions after number of characters: Specifies the number of characters that the customer must enter in the search field before suggestions are made.
- Show in search suggestions: Specifies what types of suggestions should be made. Only the types ticked off will be suggested. “CMS texts” refers to instances such as info menus containing information on shipping.
Please note that if the “Show search suggestions” option is disabled, the other configurations will not have any effect.
Advanced Search configurations
You are also able to configure more advanced aspects of the SMART search feature - namely prioritization and search score threshold.
This is configured in Base setup > Webshops > Your webshop > All settings tab > ShopStatus tab.
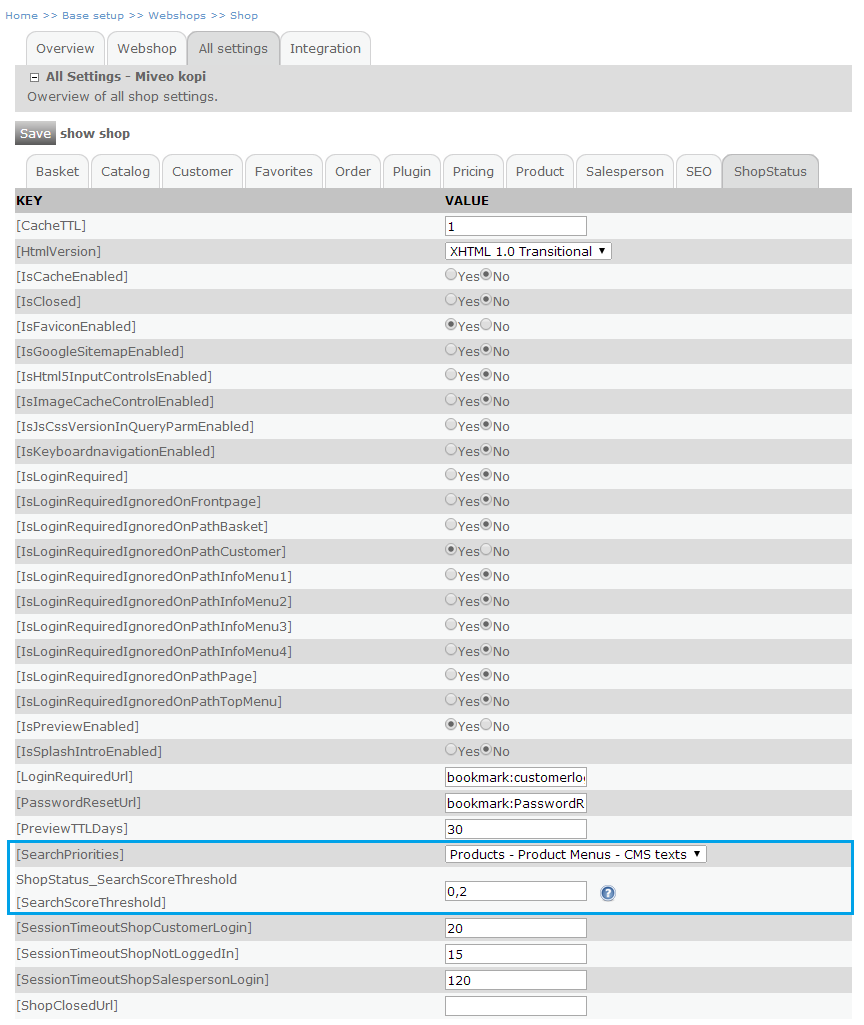
Search Priorities: Enables you to specify what suggestion types should be prioritized. “Products – Product Menus – CMS texts” means that products and product menus will be prioritized over CMS texts and that products will be prioritized over product menus in search suggestions.
Search Score Threshold: This property specifies the threshold for search results. This is the minimum value, that a result score must achieve in order to be treated as a meaningful result. Per default it is set to 0,2. A higher number will result in a more strict search meaning that less but more accurate search results will be returned. A low number will make the search less sensitive to typos and misspellings meaning that a greater number (but perhaps less accurate) of results will be returned. Test it out with different values to find the setting that best suits the needs of your shop.
Search Result page
Smart search includes the possibility of displaying search results not only for products but also for product menus and CMS texts (such as info menus) in the search result page. If you wish to include this functionality to your webshop, you need to create the new search result page as a content design.
Go to Design > Overall design > Content Designer and select “Other content design” from the drop-down list to the right.

Click “Create new”
Name the content design anything you like – for instance “Search result”. Optionally you can enter a description of the content design.
Click "Save".
Navigate to the “Definition” tab and add the following code:
<eSeller:Control ControlType="ProductList" ControlId="MainProductList" IsMainProductList="true" ItemTypeFilter="Default" />
Click "Save".
This code generates the result list displaying both products, product menus and articles (info menus).
Below is the documentation on the control.
| Property |
Value |
Description |
| ControlType |
String |
The ControlType identifies the control in use. |
| ControlId |
String |
The ID of the control element. You can name it anything you wish. |
| IsMainProductList |
Boolean |
Specifies whether the product list is the main product list. Must be true. |
| ItemTypeFilter |
Default, Products, Menus, Article |
Specifies what instance should be displayed in the list; products, menus, articles (info menus) or all. If this property is omitted, the default value will be default - meaning that both products, menus and articles will be outputted in the list. Setting the ItemTypeFilter to "Products" specifies that only products should be displayed in the search result list. |
Now we need to tell the webshop to use this content element as the search result page.
Go to Design > Overall design > Layout – Setup and click “Edit” by the “SearchResult” page. Please note that your setup might look different from this - however you should select the layout that represents the search result page for your webshop.

Under the heading “Content design setup” expand the dropdown list next to “Setting” and select the content design that you have just created.
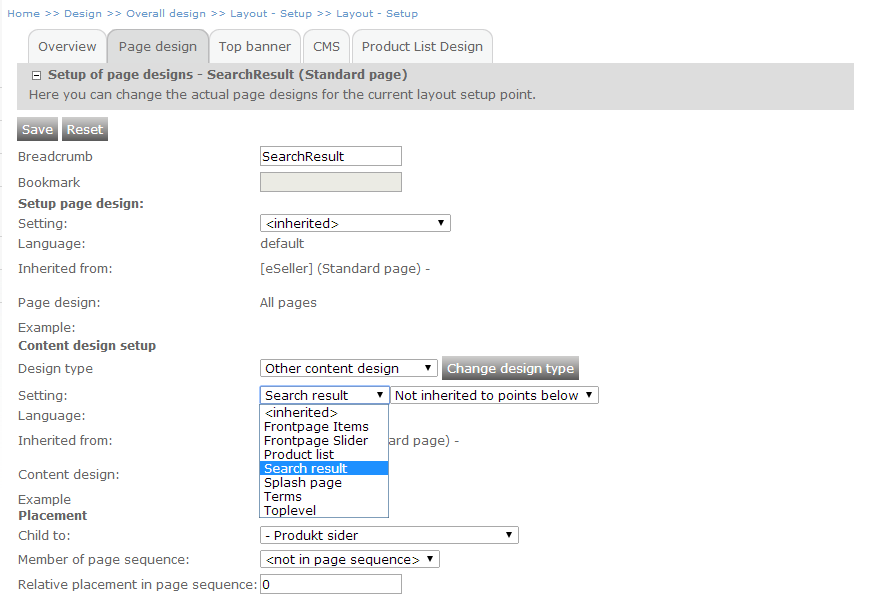
Click "Save".
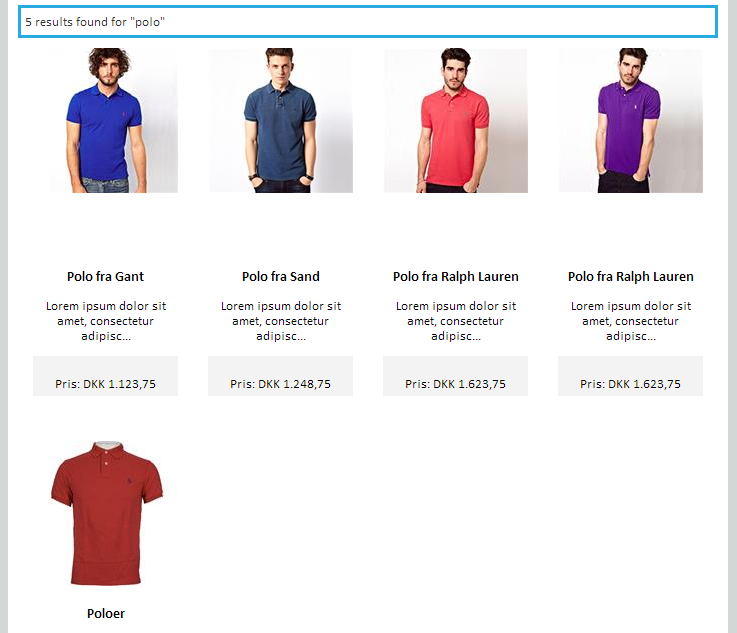
Now, if you navigate to your shop and perform a search, the new search result page will be displayed.
Getting the SMART search result as JSON
The search result can be rendered either as the standard product list (using the ProductList control as described above) or as JSON where the webdesigner scripts the HTML to be rendered.
If you wish the search result to be returned as JSON in stead of as the standard product list, you simply replace the "ProductList" control with a "JsonProductList" control - you can read more about the control here. - note that all code for rendering the list must be implemented by the webdesigner.
The JSON product service supports making queries with SMART search. When the SMART search control is used for searching and the JsonProductList control is placed on the search result page, a request will be sent to the JSON product service, specifying the search query in the "search" query parameter, and the SMART search result is delivered as JSON. Thereby you are able to script your own search result product list, using all of the product information available from the JSON service.
Example request
/Services/ProductService.asmx/ProductList?v=1.0&lId=0&cId=54&langId=1&countryId=11&locId=&customerId=0&p=1&rp=25&imgSizeId=0&search=ralph%20lauren%20polo
Read more about the JSON product service here.
Filtering search results
The search result list supports filtering and sorting as with menu product lists (main product list) in eSeller Cloud. Both the standard (search result) product list and the JSON search result list support this feature. Controls for filtering and sorting can be implemented directly in the content design for the search result, they can be specified as shop elements if the search result page has a seperate page design or they can be inherited from the main product list content design if they use the same page design as the main product list. As for the main product list only filters and filter values that are applicable to the current product list will be displayed.
If the search result is created using the JSON product service the calls to the service will contain query parameters that specify sort order and/or filter values. If the "so" query parameter is 0 the results is sorted by search score - see the example below.
Note that any selected filters are reset when a new search is made.
Example: Search query with filter valued specified
/Services/ProductService.asmx/ProductList?v=1.0&lId=0&cId=54&langId=1&countryId=11&locId=&customerId=0&p=1&rp=25&imgSizeId=0&so=0&search=ralph%20lauren%20polo&fv1=material&fk1=cotton&fn2=CustomFields&fv2=pattern&fk2=striped
Example: Search query with filter valued specified - sorted by price ascending
/Services/ProductService.asmx/ProductList?v=1.0&lId=0&cId=54&langId=1&countryId=11&locId=&customerId=0&p=1&rp=25&imgSizeId=0&so=5&search=ralph%20lauren%20polo&fv1=material&fk1=cotton&fn2=CustomFields&fv2=pattern&fk2=striped
You can read more about sorting and filtering here and here.
Texts and translations
Naturally, you are able to specify texts and translations for all parts of the SMART Search feature. This is done in the Texts tab of the Smart Search shop element.
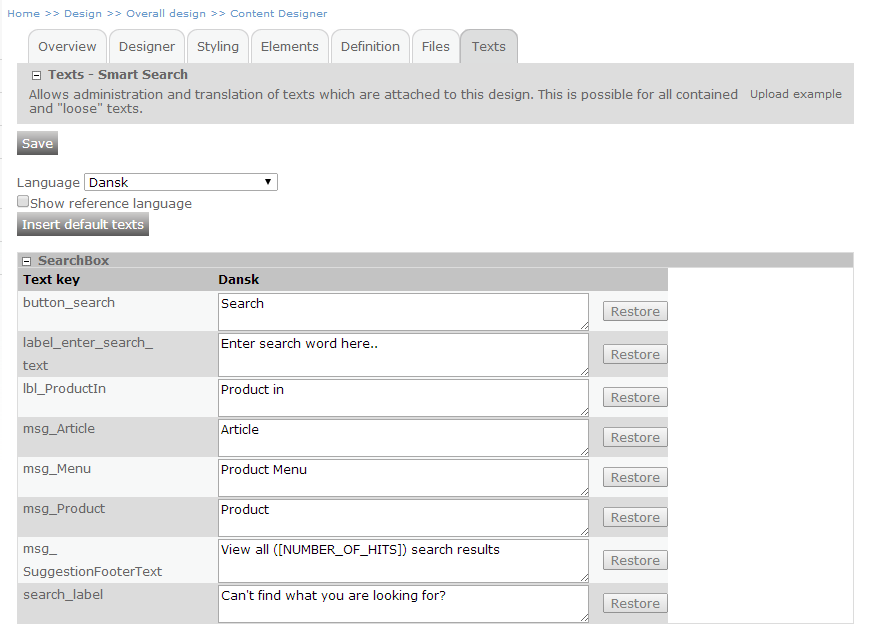
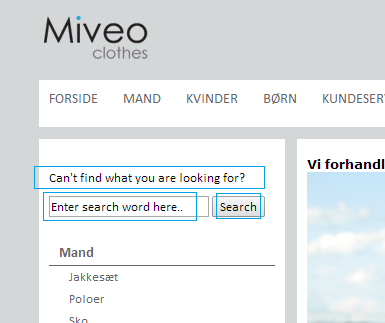
Below you see how the texts are displayed in the shop.
Search Report
You can learn a lot from analysing your customers’ unsuccessful searches. Perhaps a large number of customers are searching for a product that is not part of your product catalogue, but that you then might want to include in your catalogue. The search report is a unique tool that lets you discover what customers are looking for but not finding in your shop.
In order to see the Search Report, go to Reports > Search Report.
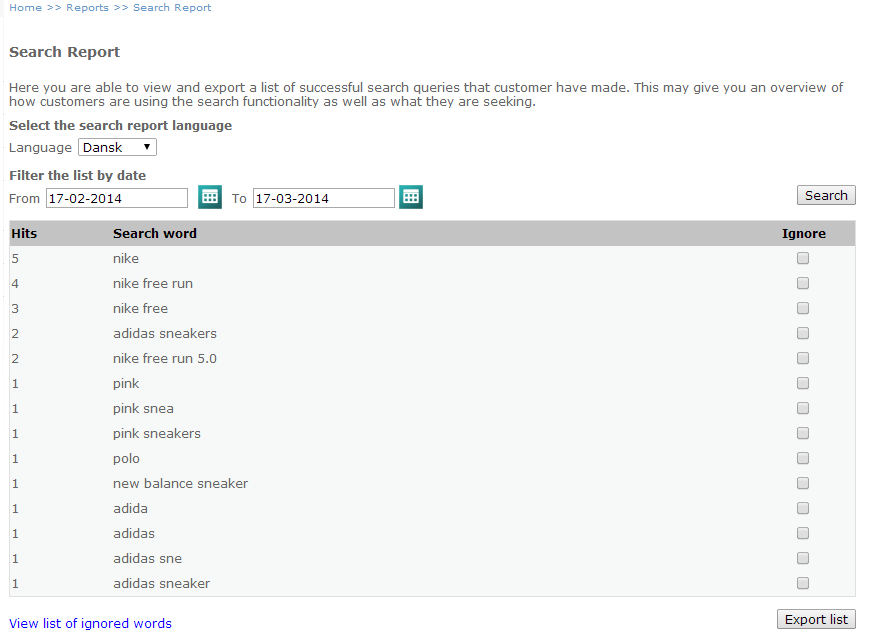
The Search Report is a list of search words that have not resulted in any search results in your webshop. The words are ordered by hits – meaning how many times customers have searched using the word. The list can be viewed separately for each language available in your shop, and you are able to filter the list of words according to a date range.
You are also able to ignore search words in the Search Report – simply click the “Ignore” box, and the word will be removed from the list. Ignored search words are placed in the list of ignored words, from where you are able to un-ignore words.
Lastly, you are able export the Search Report as a CSV file by clicking the “Export list” button.
Indexing
The search index is automatically re-built when:
- An import has occurred (for instance via integration).
- A product or a menu is edited in the shop administration.
Products that have no menu relations are not indexed, and hence cannot be found when searching. Likewise, if a product is only related to inactive menus or menus that are neither visible before nor after login, the product is not searchable and will not be included in the index.
Troubleshooting
If you experience that the SMART search feature is not providing any suggestions or results, please consider lowering the score threshold as explained under Advanced Configurations. Play around with different values to find the best configuration for your shop.
Issues with unexpected search results may also be due to an old search index. You can manually trigger a re-build of the search index from the shop administration. Go to Base setup > Webshops > Shop > (Select shop) > All settings tab > Search tab and click "Rebuild search index". By clicking this button, the index wil be re-built for all active languages on the active shop. The rebuild will not take more than a few minutes to complete.