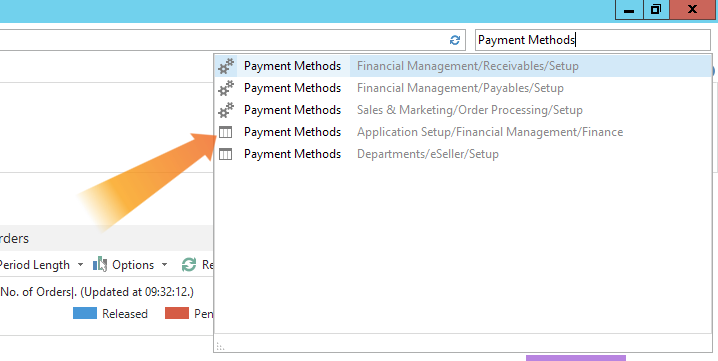
To set up the payment methods available in the shop, use the search field in the top right to search for “Payment Methods” and select one as shown below.
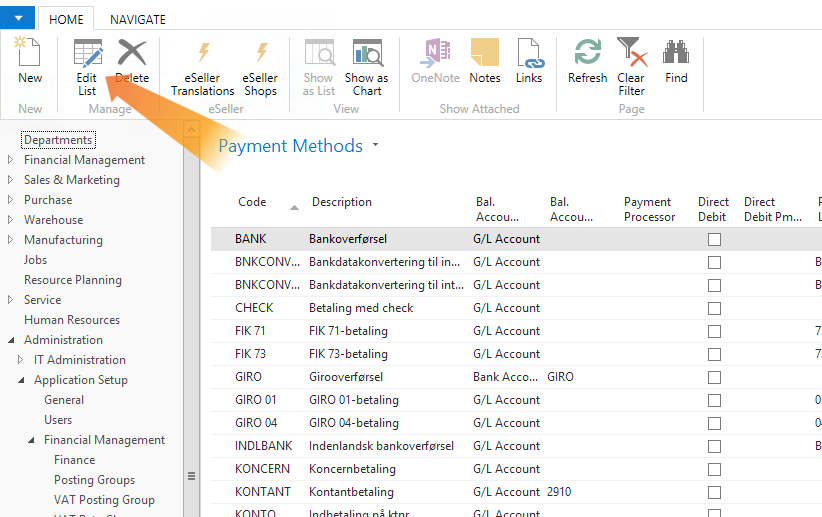
To edit the payment methods, click “Edit List” in the top left corner. This will open a new window.
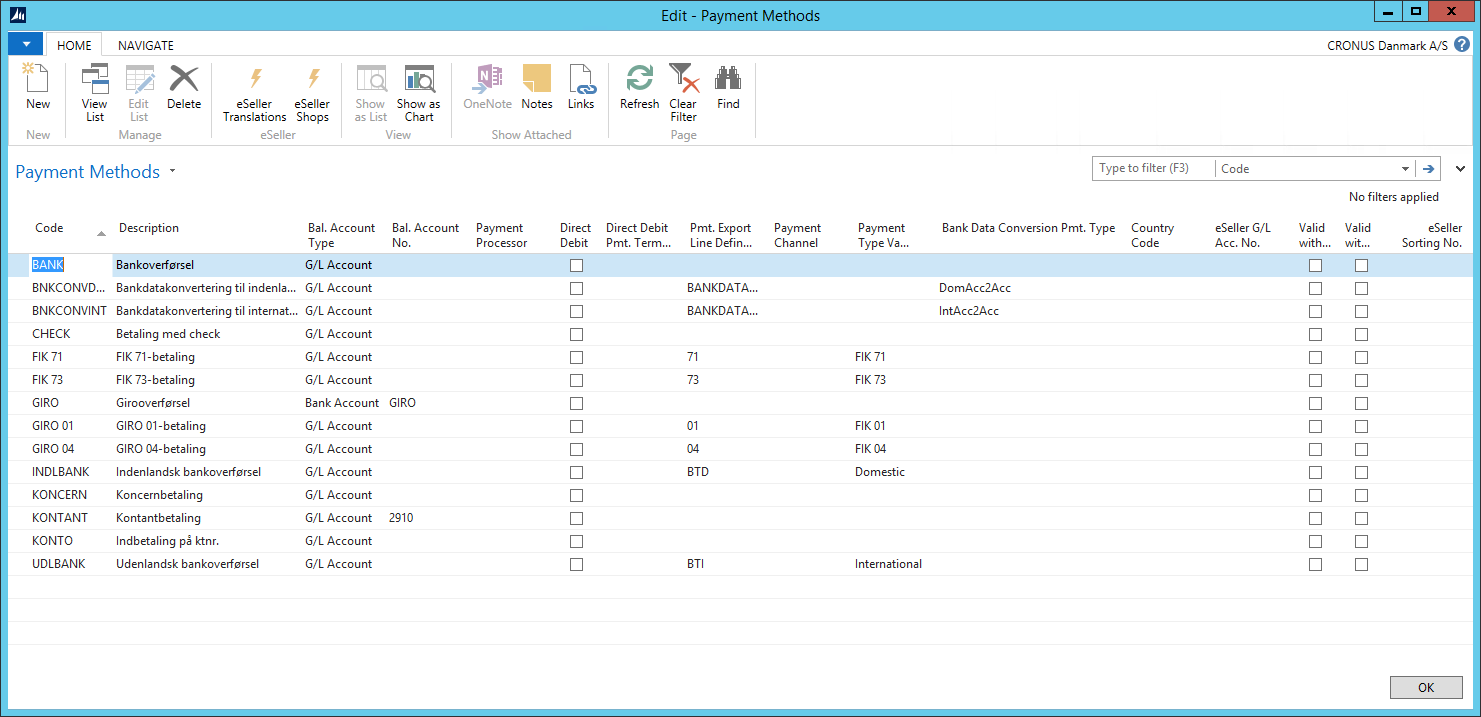
From here you can add new payment methods or edit existing ones.
The eSeller related columns can be found to the far right of the list.
| Column | Description |
|---|
| Country Code |
This field is outdated and should be left blank. |
| eSeller G/L Acc. No. |
This field has to contain the account the payments should be posted to, this can be selected from the dropdown. |
| Valid Without Login |
If checked, the payment method will be visible for customers who have not logged in. |
| valid With Login |
If checked, the payment method will be visible for customers who are logged in. |
| eSeller Sorting No. |
This field allows you to sort the order the payment methods are displayed in. Lower numbers will be displayed before higher numbers, e.g. a payment method with sorting number 10 will be displayed before one with 50. |
The final thing you need to do is check the description of the payment methods will be displayed correctly in the webshop.
If you already have a description in the “Description” field, and you have checked “Payment Method - Create Std. Lang. Text” under the eSeller Basic Setup, make sure to update the description field. To read more about the basic setup, please see eSeller basic setup.
Once you have added or updated your description, click “eSeller Translation” in the top menu, which will open a new window.
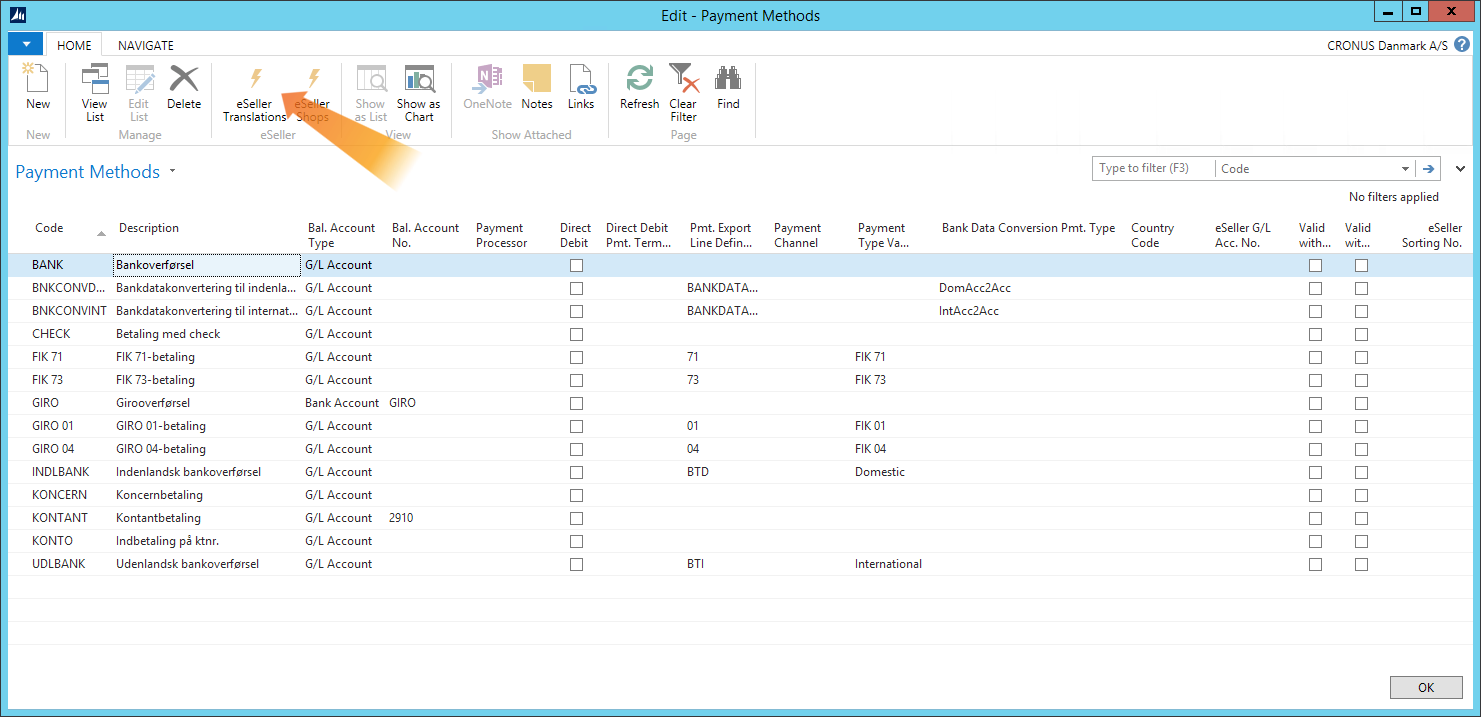
Make sure the translations are correct, or add any languages you might need for your shop. The content of the “Description” field is the text that will be displayed in the webshop.
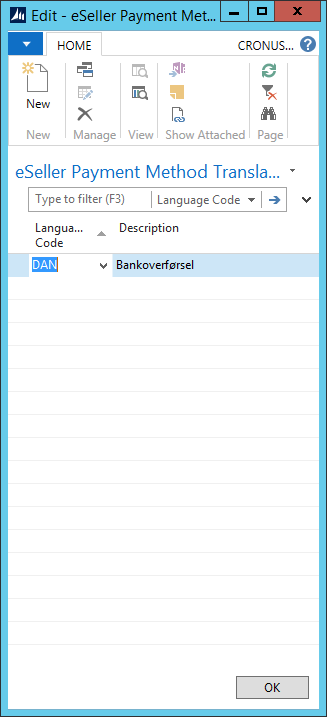
After you have all the correct translations, close the eSeller Translation window again by clicking “OK”.