Typically your payments will be handled automatically, but this tutorial will explain how you can manually import payments from eSeller to Dynamics NAV.
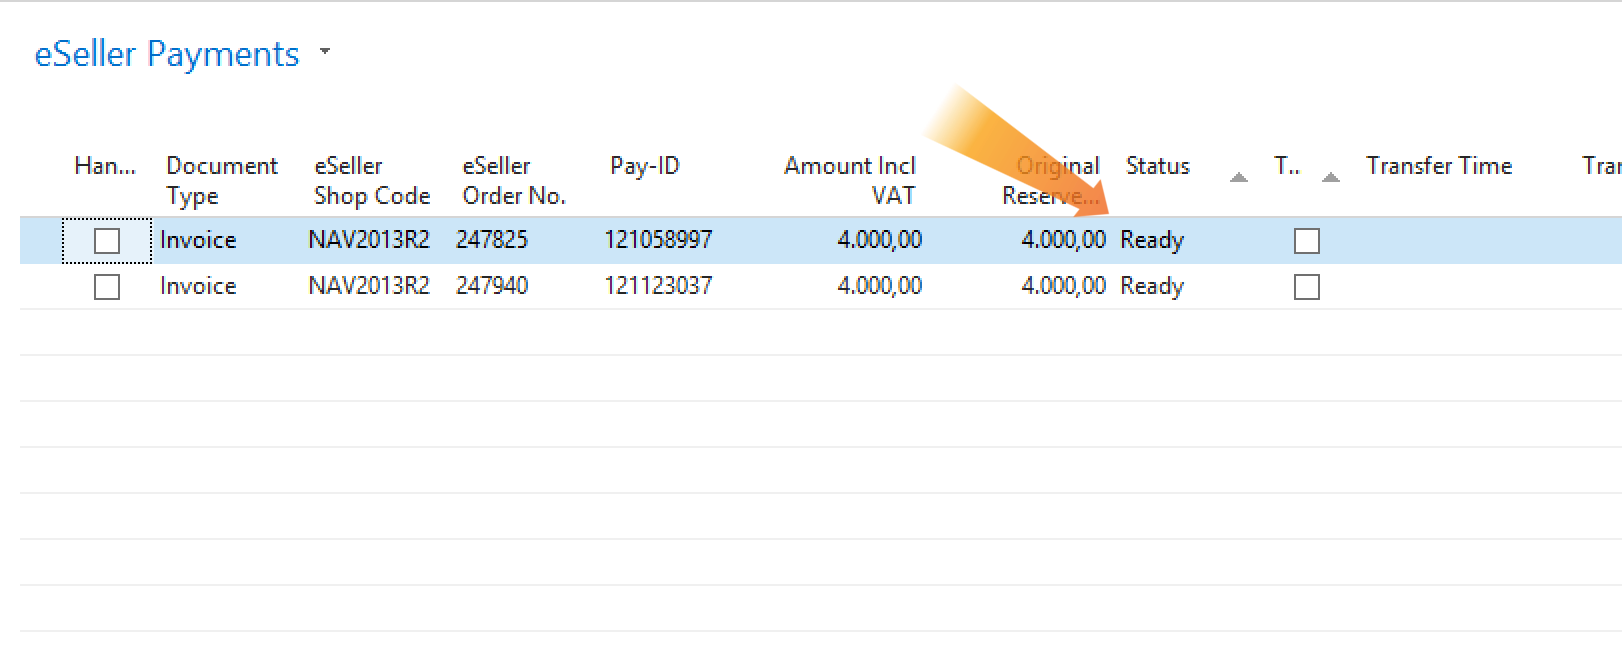
Before you begin, you have to make sure your invoices have been posted and the invoice data is shown under eSeller Payments in Dynamics NAV.
You can check this by using the search field in the top and searching for “eSeller Payments”, where you should be able to see your orders in the list.

There are two steps to importing the payments from eSeller. First you need to request payment, and secondly you need to check the payment status.
Requesting payment
The first step begins the process of getting the payments. This is done by sending a request from Dynamics NAV to eSeller. eSeller will then request payment from the payment module, which will return the payment status to eSeller, ie. if payment has been made or not.

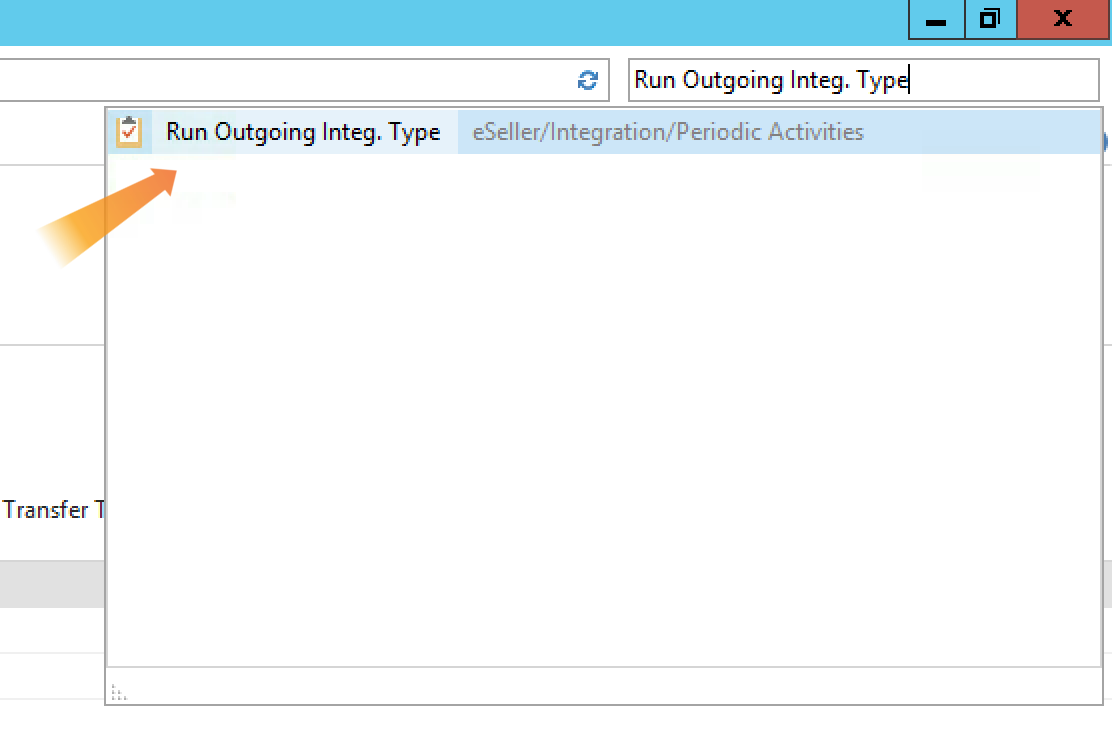
To do this you need to search for “Run Outgoing Integ. Types” in the searchfield in Dynamics NAV and select it as shown below.

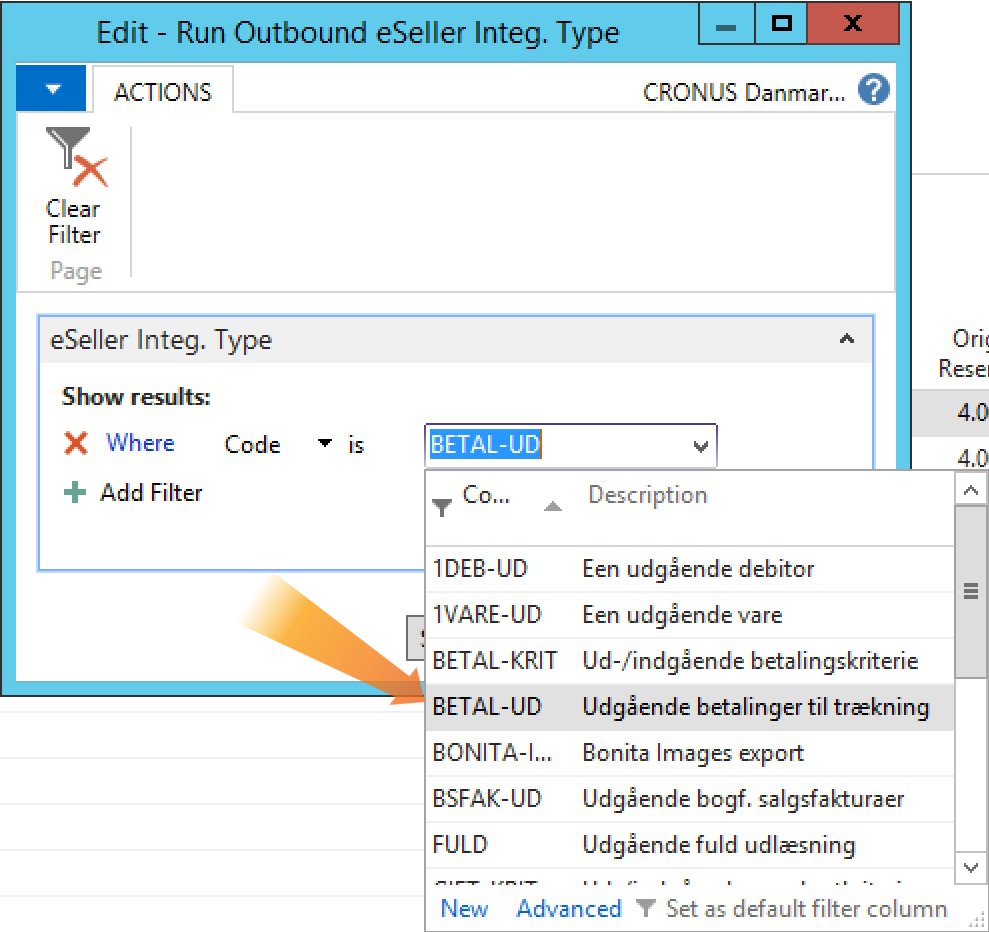
This will open a new window, where you you need to select the outgoing payments to be withdrawn option, in this case “BETAL-UD”, and run it.

Checking payment status
Once the payments have been made and updated in eSeller Cloud from the payment module as shown above, the status of the payments have to be imported to Dynamics NAV. This is done by making a request from Dynamics NAV to eSeller, which will return the payment status.

To do this you need to search for “Run Outgoing Integ. Types” in Dynamics NAV and select it as shown below.

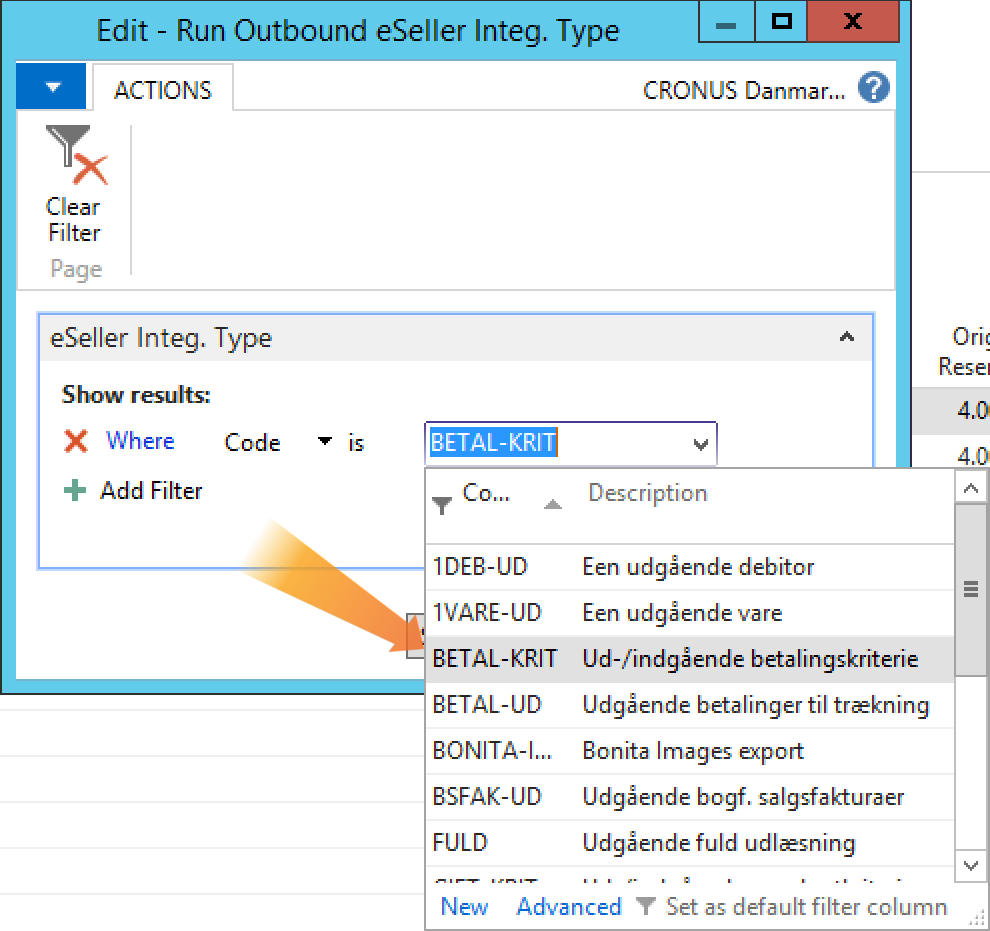
This will open a new window, where you you need to select the outgoing/ingoing payment criteria option, in this case “BETAL-KRIT”, and run it.

This will update the payment status of the order in “eSeller Payments”.