To begin adding menu levels in Dynamics NAV, search for “Menu Levels” in the searchfield found in the top right corner.
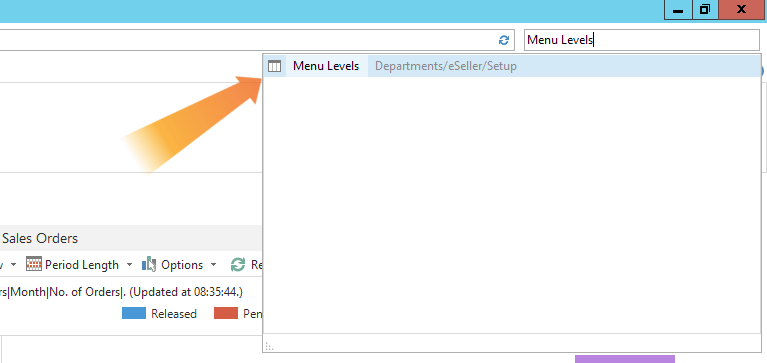
This will open a new window where you can see all the menu levels already added, if any.
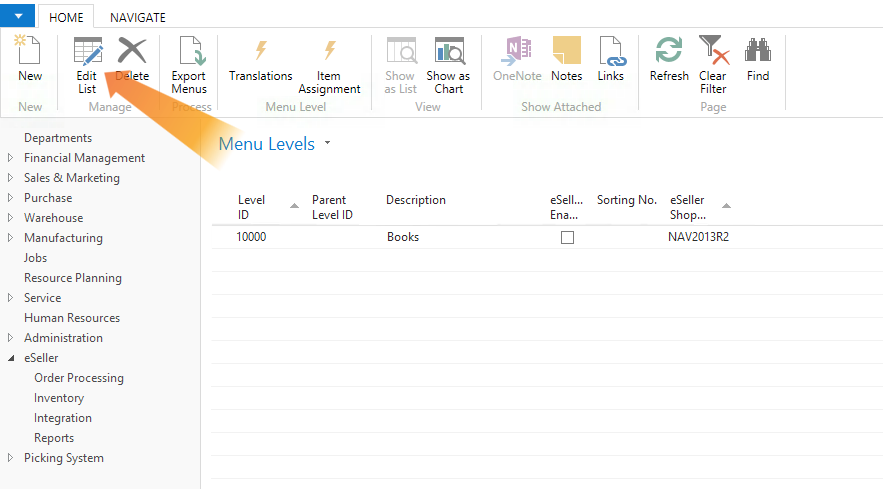
Before adding menu levels, make sure the column “eSeller Shop Code” is shown in your list.
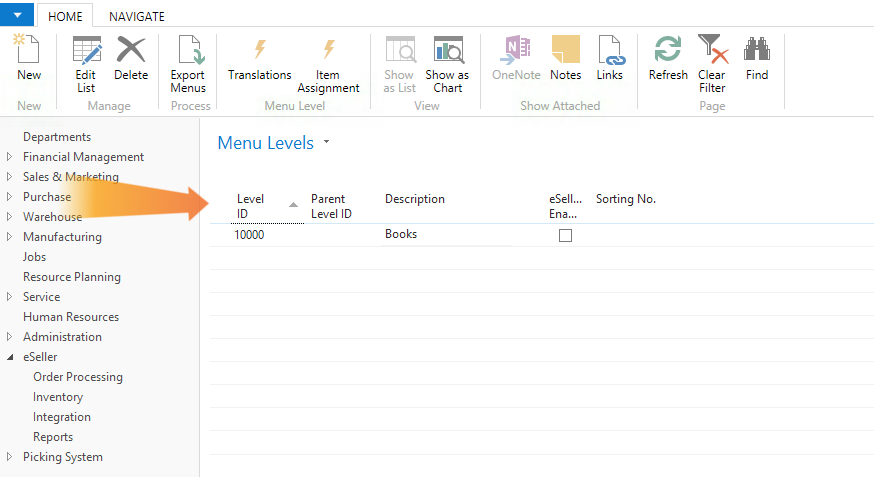
If it is not there, like shown in the example above, click the blue arrow in the top left corner >> Customize >> Choose Columns…
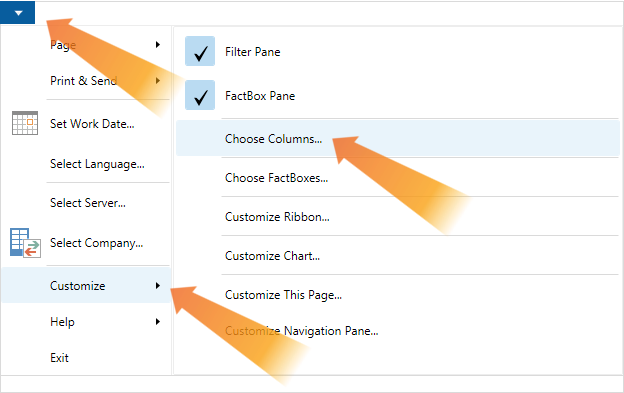
This opens a new window, where you can add columns to the list. Select “eSeller Shop Code” from the list to the left and click the “Add” button.
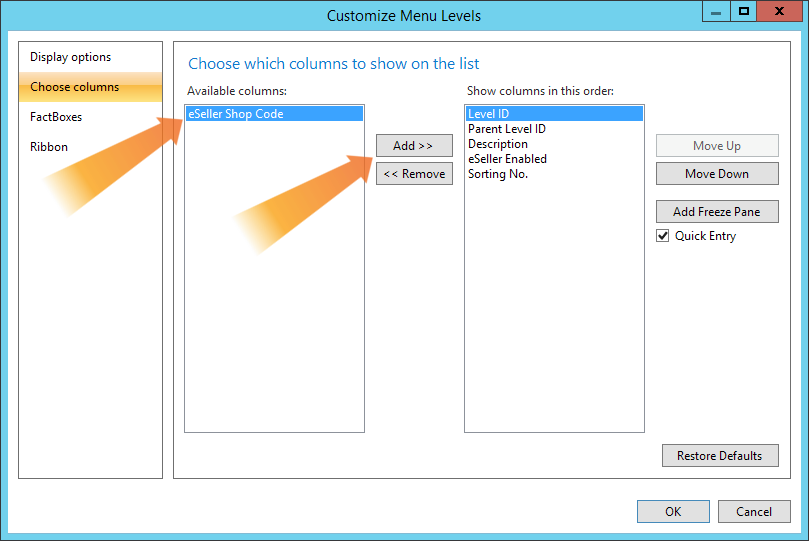
This will add the column to the list on the right, which is the columns visible in your list.
Click “OK” to close the columns window, and you are ready to continue adding your menu levels.
To add menu levels to your list, click “Edit List” in the top left, which will open a new window.
Here you need to add the shop code for the shop the menu should be added to, this can be selected from the dropdown. Please notice that your columns might not be placed in the order shown in the screenshots.
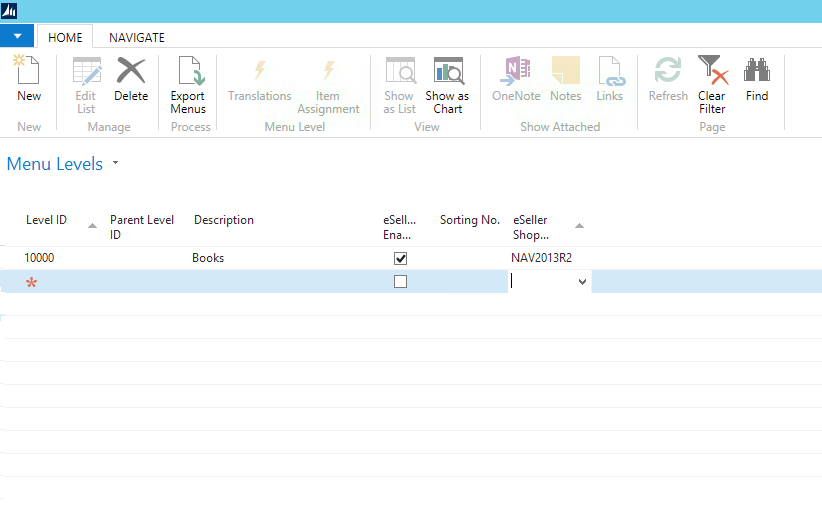
You also need to add a Level ID. We recommend you use the same amount of digits for all IDs, e.g. 4, as the menu levels in the list are sorted by number from front to back, so 13 will be after 123, but 0013 will be before 0123.
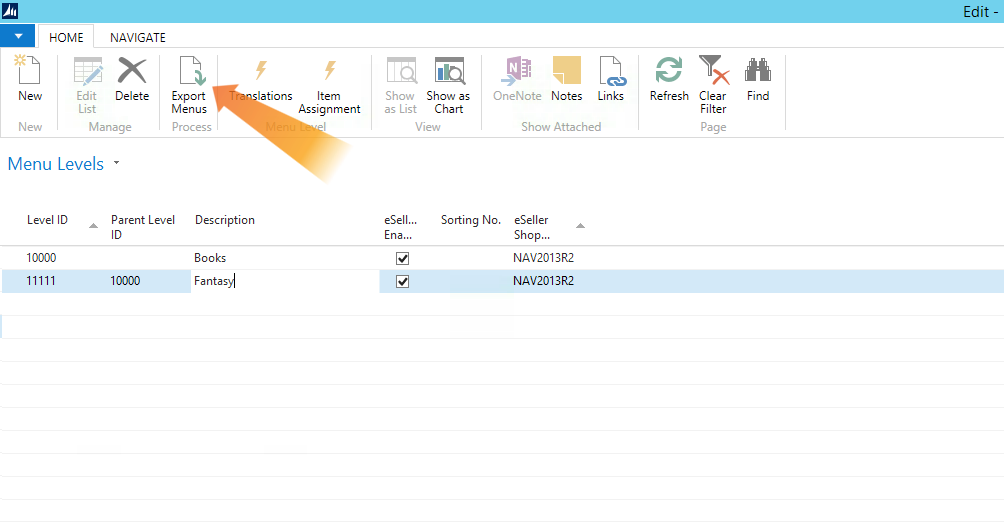
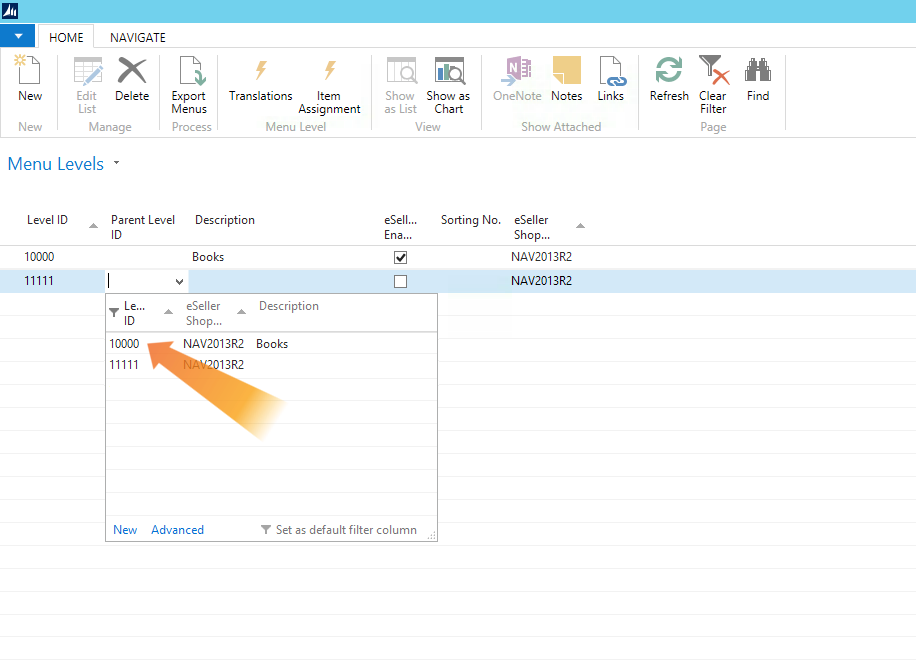
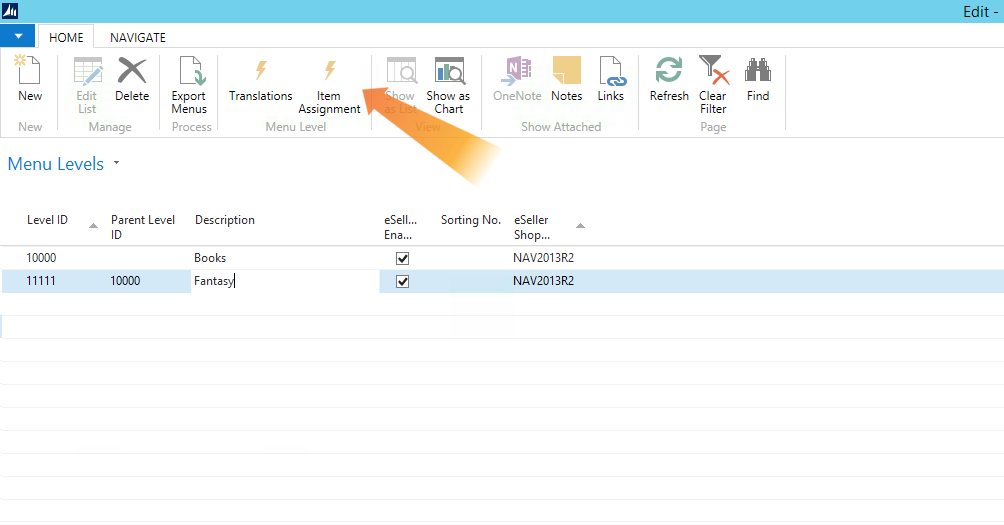
If the menu level you are adding is a submenu, you also have to fill in “Parent Level ID” with the ID of the parent menu level. All the available menu levels are listed in the dropdown. As shown in the example below, our menu level can become a submenu of the level with ID 10000, which means that our menu level will be displayed as a submenu to that menu level in the webshop.
You also need to add a description to the menu level, this will be the text displayed in the webshop. Do not forget to add any translations necessary.
To actually get the menu displayed in the webshop, you need to check off “eSeller Enabled”.
If you want the menu levels to be sorted a certain way in the webshop, you can add it to “Sorting No.”. Lower numbers will be displayed before higher numbers, e.g. 10 will be displayed before 50.
Adding items to menu levels
To add items to your menu level, select the menu level you want to add items to and click “Item Assignment“ in the top menu, which will open a new window.
You should only fill in “Item No.” for each item you want added to the menu, as the rest of the information will automatically be filled in.
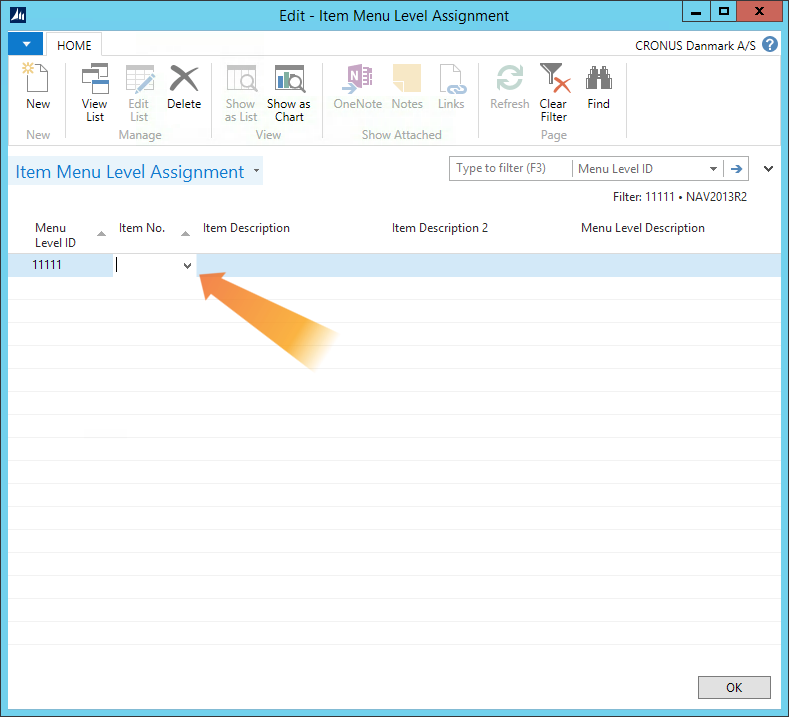
Once you have added all the items to the menu, click “OK” to close the window.
Exporting menu levels
To export the menus to your eSeller webshop, click “Export Menus” in the top menu.
This will export all your menus and the related translations to your webshop.