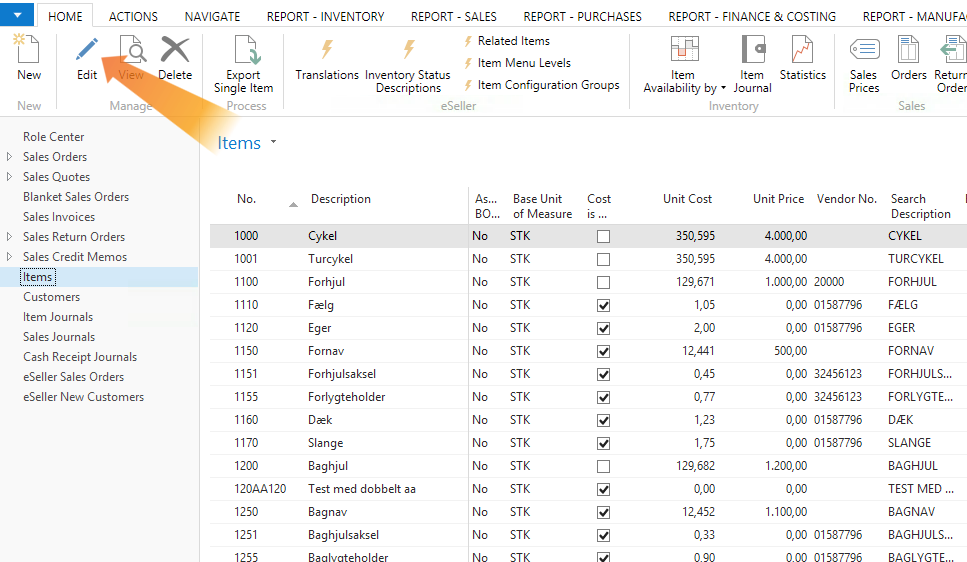
To add items in Dynamics NAV you need to click “Items” in the menu to the left.
Then select the item you want to edit from the list, and click “Edit” in the top left.
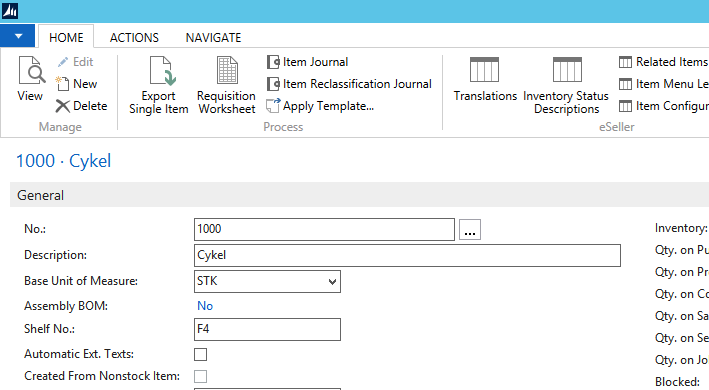
The information relevant to eSeller can be found in the top menu and in the “eSeller Item Data” tab as shown below.
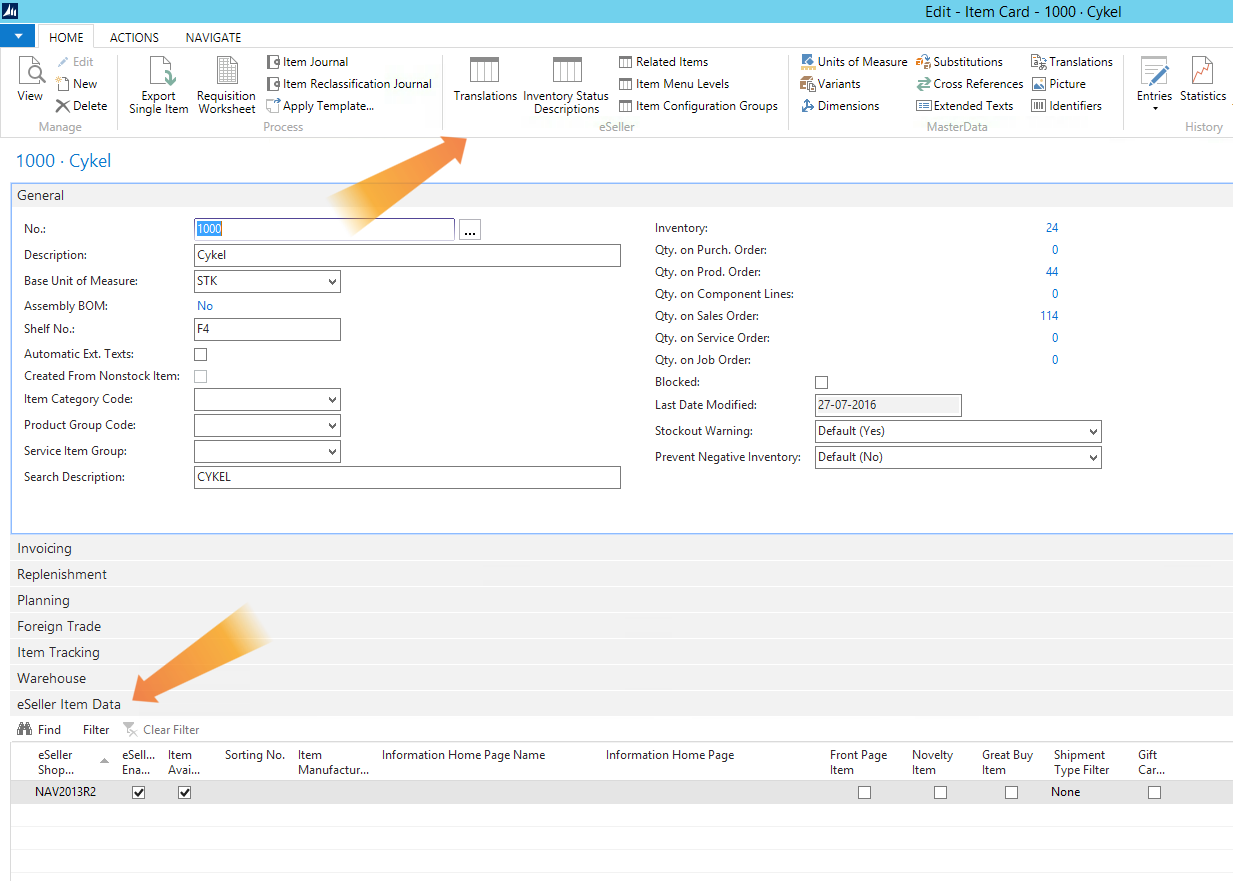
Under the “eSeller Item Data” tab you will find the following columns.
| Column | Description |
|---|
| eSeller Shop Code |
This column should contain the eSeller shop code for the shop the item should be added to. |
| eSeller Enabled |
If it is checked, the information can be sent to eSeller. Note that this does not mean the item is displayed in the webshop.
If this is not checked, the item information will not be sent to the eSeller shop. |
| Item Available For Sale |
If this is checked, the item will appear on the webshop and in search results. |
| Sorting No. |
This allows you to sort the item, lower numbers will be displayed before higher numbers. E.g. 10 will be displayed before 50. |
| Item Manufacturer Code |
This column can contain the manufacturer code, and can be selected from the dropdown.
If there is none available you can add a new one by clicking “New” in the bottom left of the dropdown. This opens a new window where you have to give the manufacturer a code, enter the manufacturer’s name, and the URL for their website. |
| Information Home Page Name |
This allows you to define the text displayed for the link to “Information Home Page”. |
| Information Home Page |
This allows you to add a link to additional information about the item. |
| Front Page Item |
If this is checked, the item will be displayed on the front page. |
| Novelty Item |
If this is checked, the item will get an icon in its images which will mark it as a new item. |
| Great Buy Item |
If this is checked, the item will get an icon in its images which will mark it as a great buy item. |
| Great Buy Item |
If this is checked, the item will get an icon in its images which will mark it as a great buy item. |
| Shipment Type Filter |
This is used to filter the shipment methods available to customers purchasing this item. There are 4 different options, which can be selected from the dropdown.
- None: This is the standard value, and means all shipment methods are available for this item.
- Only at Store: This only allows the customer to collect the item at the store.
- Only Shipment: This means the item can only be sent to the customer.
- Virtual: This is only used for non-physical items, such as gift cards.
|
| Gift Card Product |
This field is used to mark the item as gift card. |
From the top bar you can add translations by clicking “Translations”, which will open a new window.
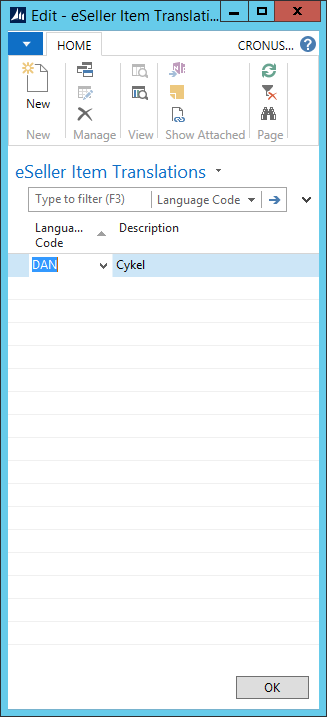
Here you can add the ISO language code and the description, which will be the text displayed on the webshop.
You can also add inventory status descriptions by clicking “Inventory Status Descriptions” in the top bar. which will open a new window.
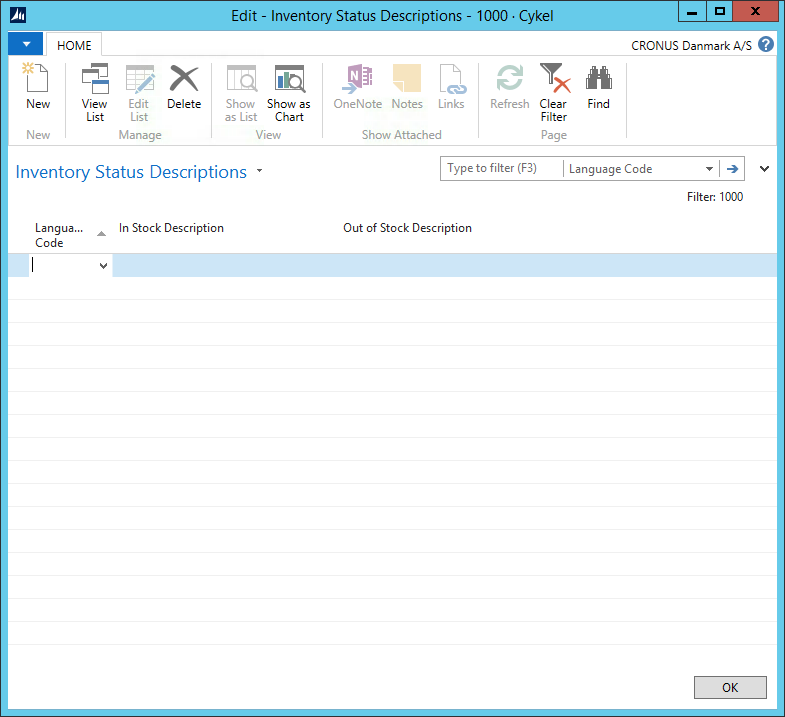
Add the ISO language code for the text, and then add the descriptions wanted. The “In Stock Description” will be the text displayed if the item is in stock, while “Out of Stock Description” is the text displayed when the item is out of stock.
Related items can be added by clicking “Related Items” in the top bar, which will open a new window.
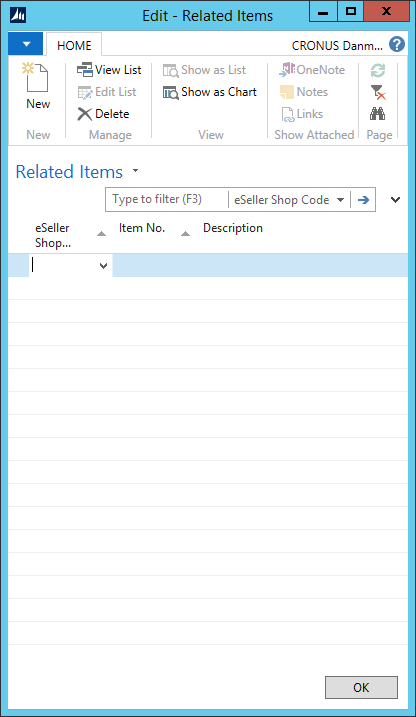
Here you need to add the shop code and the item number you want to relate the original item to.
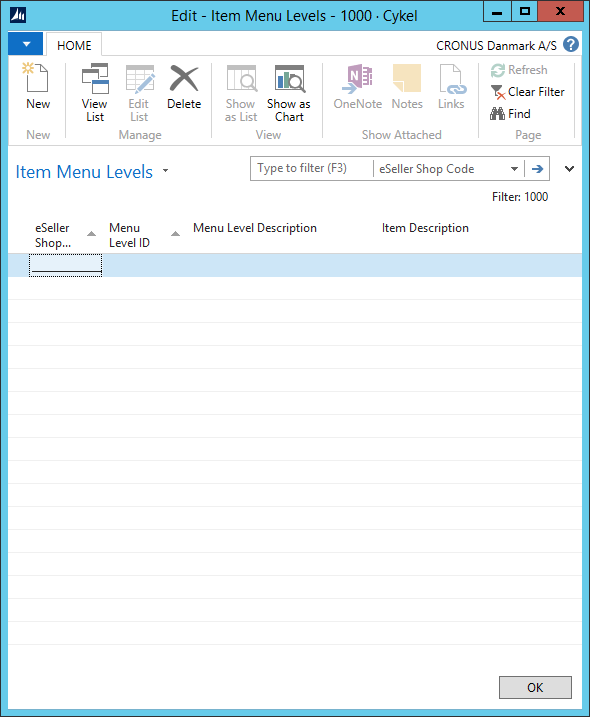
The final thing you can do from the top bar is adding menu levels to the item, which can be done by clicking “Item Menu Levels”. This will open a new window where you can add the “Menu Level ID” and the rest of the information should be filled automatically.
Exporting a single item
To export the selected item to your eSeller Cloud webshop, click “Export Single Item” in the top menu. This will add only the selected item to the shop.
Please note that the item has to be eSeller Enabled before it can be successfully exported.
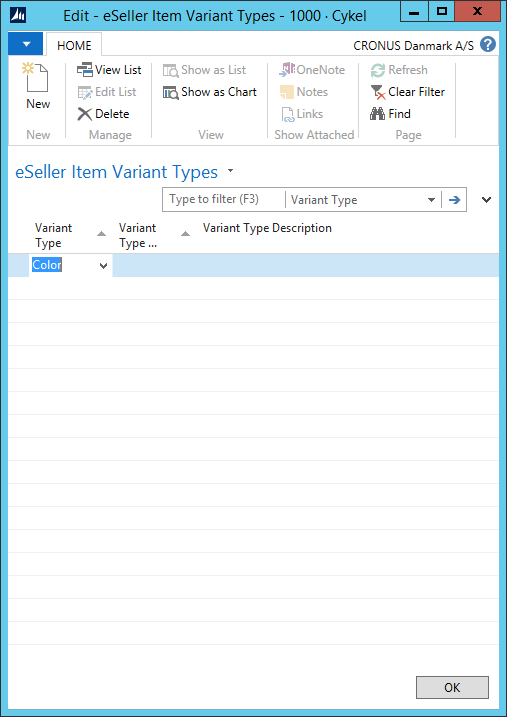
Adding variants
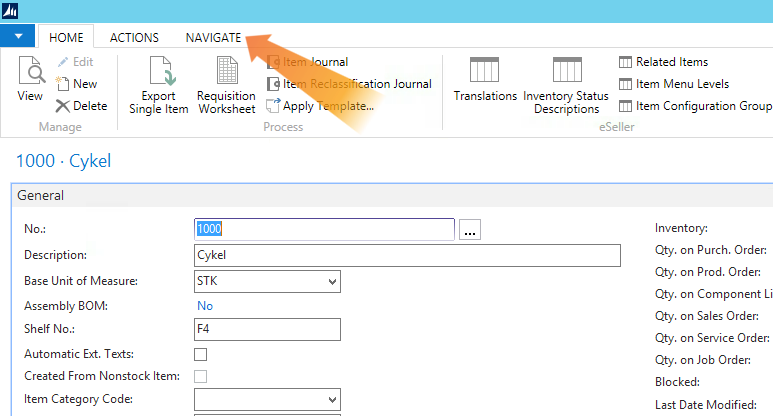
To add variants to the item, click the “Navigate” tab in the top menu.
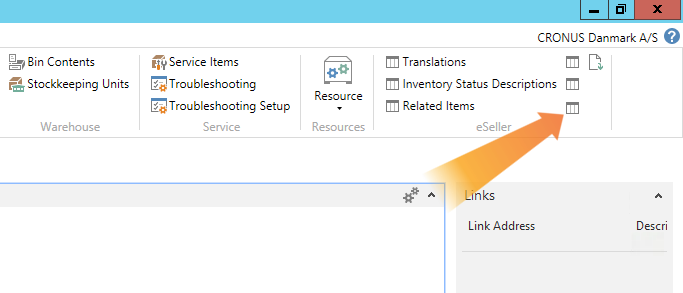
Then click the button “Item Variant Types” as shown below.
This opens a new window, where you can add the different colors or sizes to the item.